Making a Reservation (Interactive and Batch Mode)
Users can create a reservation with SRNs and/or GPUs on the Reservation page or the Manage Reservations page to make a reservation request.
Reservation Overview
In order to access SRNs and GPUs, users must first make a reservation request for one or multiple resource. Each team is allotted a finite amount of reservation tokens which are used to make reservations. Five minutes of reservation time on a single resource costs one token (e.g. 60 minutes for 1 SRN and 1 GPU costs 24 tokens).
As any team member can make a reservation against the team’s pool of available tokens, it is recommended that teams coordinate as needed to make reservations.
Reservation Notes
Reservation Times
A reservation holds an allotment of SRNs and/or GPUs for a time period. To allow the best use of resources however, specific nodes (e.g. specific hostnames) are not assigned until 5 minutes before a reservation.
Reservation time includes the time needed to load and allocate containers as well as the time to tear down the container.
Note
A typical base image takes around 5 minutes, but larger custom containers may take longer to load.
Reservations must be a minimum of 15 minutes long.
- Users should be aware of reservation end time. Once a reservation expires, containers will immediately be deallocated and any unsaved data or changes will be discarded.
The team network shared drive will persist beyond the reservation and is a suitable location to store data.
If users wish to take a snapshot of their image, this must be completed prior to reservation expiration.
Canceling a Reservation
Users may cancel a reservation up until 5 minutes prior to the reservation.
Users cannot cancel an ongoing reservation.
Users cannot load new containers during an ongoing reservation.
SRN Reservation Scheduler
Login to user website at https://experiments.colosseum.net.
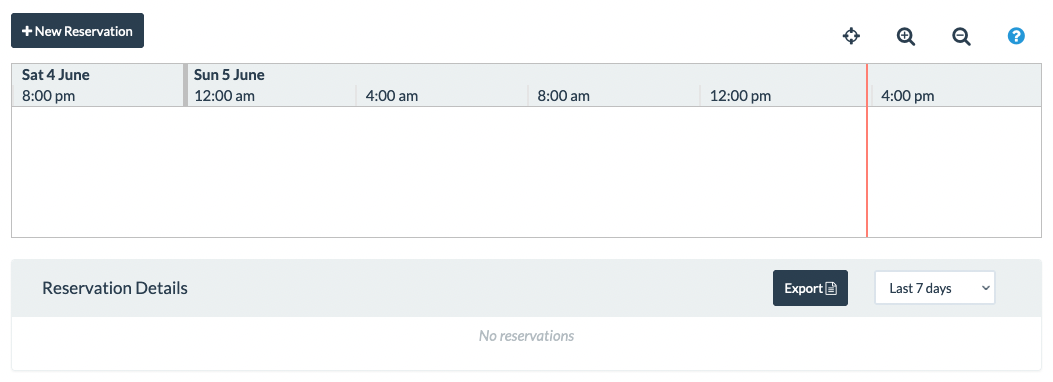
Select Reservations to view team reservation calendar.
Select the
 icon to create a new reservation and view all resource availability.
Enter the Reservation information:
Name: name of the reservation.
Start date: start day of the reservation.
Start time: start time of the reservation. Note that a reservation cannot be created within 5 minutes of the current time to allow reservation operations to be performed. Reservation times are limited to 5 minute intervals.
Duration: duration in minutes of the reservation. Note that the reservation duration must be at least 15 minutes.
Number of SRNs: number of SRNs nodes to reserve.
Default image (if more than 1 SRN selected): default image that will be applied to all SRNs.
Node X: image for the LXC container of the node X. The user can manually select images for each SRN, or use the default image field to use the same image for all SRNs.
Octoclock: flag to reserve SRNs with radios connected to an Octoclock clock distributor.
Number of GPUs: number of GPUs resource to reserve.
GPU node type: type of GPU server where the GPU will be reserved: DGX for the NVIDIA A100 with a maximum of 8 GPUs; LMN for the Large Memory Node with 3TB of RAM with a maximum of 6 GPUs.
Default GPU image: image for the Docker container of the GPU reservation.
Select Request.
The Reservation Request will be sent and a confirmation will appear at the bottom. Errors may occur and are shown in red. If at any point there are questions about the errors, or errors occur consistently, please create a ticket with the HelpDesk.
Manage Reservations
Login to user Website at https://experiments.colosseum.net.
Select Reservations.

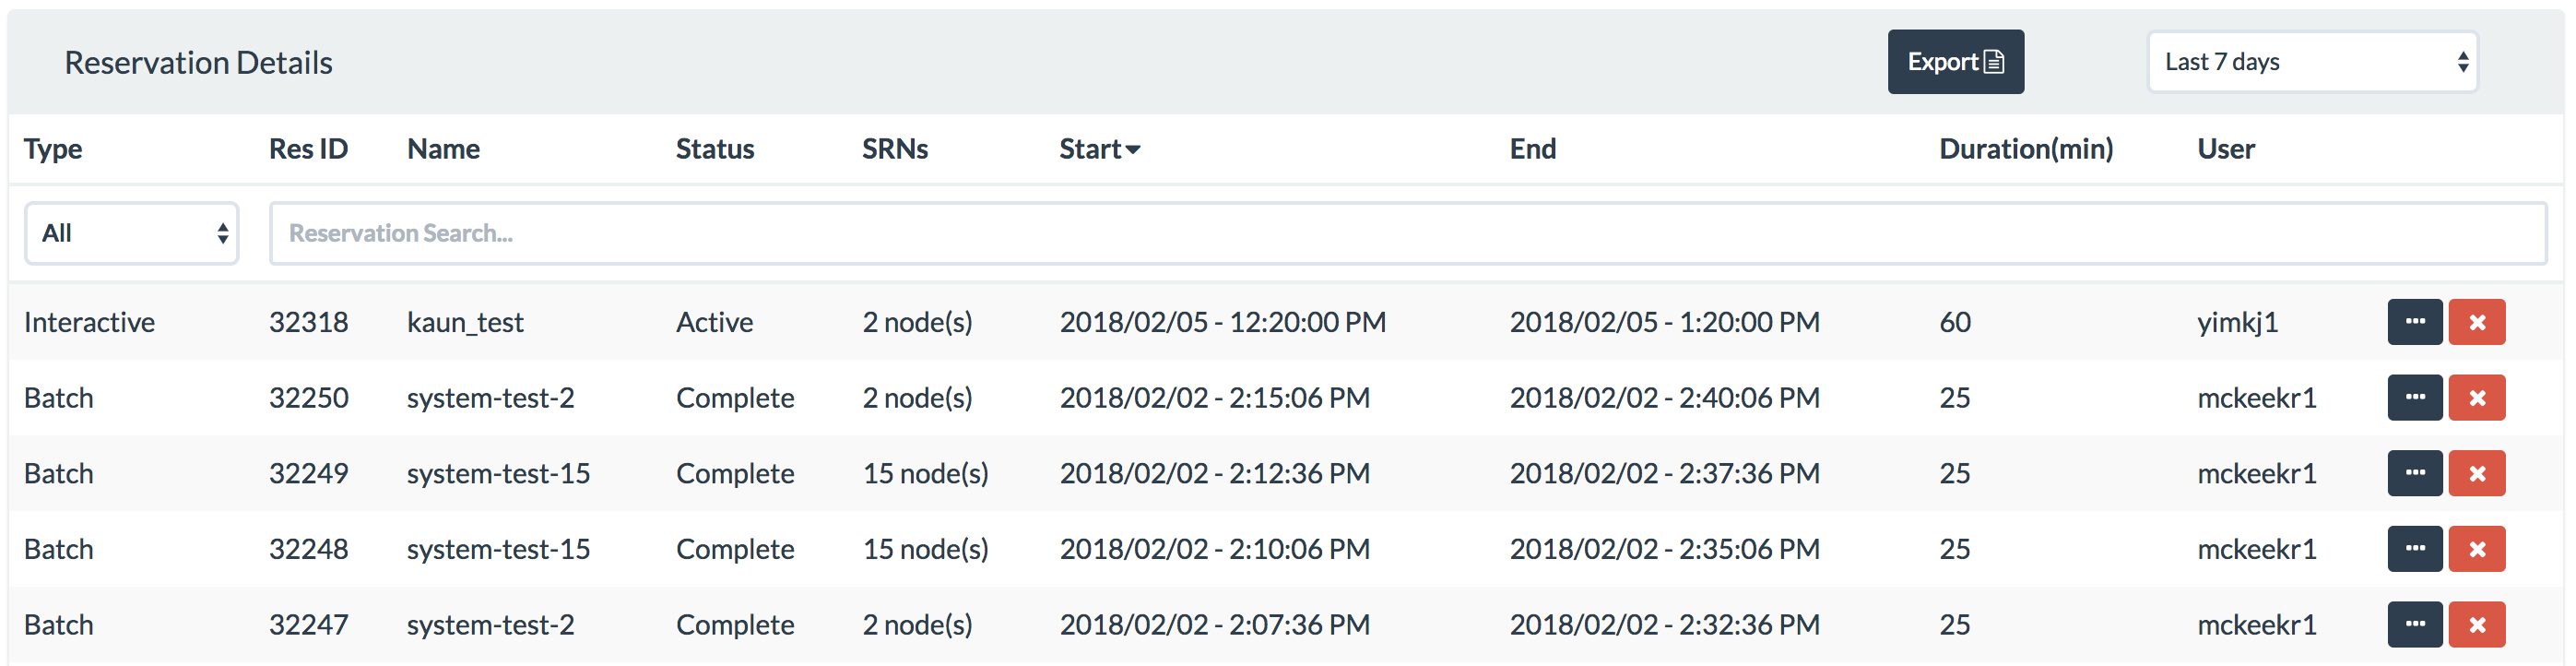
Hovering over the nodes value will display a resource recap status tooltip.
By clicking the
 button next to a reservation, the reservation will be deleted.
Important
Deleted reservations can not be restored.
By clicking the
 button next to the reservation, the reservation info dialog will be displayed.
Making a Batch Mode Reservation
In order to make a batch mode reservation, please upload a config file to your team’s NAS. See: Batch Mode Format and Process. Please note that currently it is only possible to perform batch jobs for SRNs resource and not for GPUs.
Available batch files are listed on the top left of the Batch Jobs page. You can filter off file name.
Add a batch job to your team’s queue by hitting the plus next to the file name. It will be added to the Pending batch jobs queue in the top middle of the page. Jobs in this queue can be removed by hitting the button or reprioritized by dragging them to the order the user would like them to be processed in.
Once a batch job begins processing, it’s unable to be edited. It will process for 10 minutes while the hardware spins up. Once the file starts running it will have a start time associated with it.
Completed batch jobs are displayed at the bottom of the page and able to be filtered on all columns. They are also available for view on the Manage Reservations page. The replay button to the right of the Completed Batch Jobs table will put the same file back on the pending queue. If this button is disabled, the file no longer exists on the team directory in the NAS.